A friend of mine called me in a mild panic last winter. She’d spent an entire Sunday afternoon making kimchi for the first time — salting, rinsing, mixing the paste — only to open the jar three days later to something that smelled more like a locker room than the tangy, funky perfection she’d been dreaming of. “Did I just poison myself?” she asked. I laughed, but honestly? I’d been in almost the exact same spot when I first started.
Kimchi making has this reputation for being either a mystical ancestral art or a totally foolproof weekend project depending on who you ask. The truth, as usual, lives somewhere messier in the middle. So let’s actually walk through what’s going on — the science, the mistakes, the fixes — so you don’t waste a whole head of napa cabbage and a Saturday afternoon.
What’s Actually Happening in That Jar (The Science You Can’t Skip)
Kimchi fermentation is driven by lactic acid bacteria (LAB), primarily Leuconostoc mesenteroides and Lactobacillus plantarum. These aren’t bacteria you add — they’re naturally present on the cabbage itself. Your job is to create conditions where the good guys win and the bad ones lose. Salt is your primary tool here.
The standard salting ratio matters more than most beginner guides admit: you’re looking for roughly 2–3% salinity by weight in your final kimchi. Too low (under 1.5%) and you get the locker-room smell — unwanted bacteria like Leuconostoc variants producing off-flavors before the good LAB can establish dominance. Too high (over 4%) and fermentation stalls almost completely, leaving you with something closer to a very spicy, very salty salad.
Temperature is the other critical variable. Fermentation happens fastest between 18–22°C (64–72°F). At room temperature in summer, your kimchi can be ready to eat in 1–2 days. In a cool 10°C environment (closer to traditional Korean earthenware kimchi pots, called onggi), the same batch might take 2–3 weeks — but the slower ferment produces a dramatically more complex flavor profile. That’s not a myth; it’s measurable in the ratio of organic acids produced.
The Three Mistakes That Kill Most First Batches
- Under-salting the cabbage before rinsing: You need to salt generously (roughly 1 cup of coarse sea salt per 2 kg of cabbage) and let it sit for at least 1–2 hours, flipping occasionally. The osmotic process draws moisture out and begins creating that protective brine environment. Rushing this step is the #1 reason for mushy kimchi.
- Using iodized table salt: Iodine actively inhibits LAB growth. This one sounds like food blogger mythology until you actually compare batches side by side. Use non-iodized coarse sea salt or Korean cheonilyeom (sun-dried salt) — available at most Asian grocery stores for under $5 per bag.
- Packing too loosely or leaving too much air: Kimchi ferments anaerobically (without oxygen). Press your kimchi down firmly into the jar until brine rises above the vegetables. Leave only about 2–3 cm of headspace because CO2 produced during fermentation will expand the contents. A tight pack prevents surface mold — though if you do get a small white film on top, that’s usually Kahm yeast and is harmless; just skim it off.
The Core Recipe — What Actually Works in 2025
I’ve tested probably a dozen variations over the years, and this is the version I keep coming back to. It’s adapted from the approach used by Maangchi (one of the most reliable Korean cooking resources online, with documented recipes used by hundreds of thousands of home cooks) with a few adjustments based on what’s accessible outside Korea.
- Napa cabbage: 2 kg, cut into quarters lengthwise then roughly 5 cm pieces
- Coarse sea salt (non-iodized): 1 cup for salting, plus more to taste
- Gochugaru (Korean red pepper flakes): 4–6 tablespoons — use 4 for mild, 6 for traditional heat. Do not substitute regular chili flakes; the texture and heat profile are completely different.
- Garlic: 8–10 cloves, minced or grated
- Fresh ginger: 1 tablespoon, grated
- Fish sauce or salted shrimp (saeujeot): 2 tablespoons — for vegan kimchi, substitute with soy sauce and a small piece of kombu soaked in water
- Green onions: 4–5 stalks, cut into 3 cm pieces
- Asian chives (optional but recommended): adds a distinct garlic-forward note
- Sugar or Asian pear: 1 teaspoon sugar OR 3 tablespoons grated Asian pear — the pear adds natural sweetness and enzymes that help tenderize
The process: salt your cabbage, let it wilt for 1–2 hours, rinse thoroughly 2–3 times (taste it — it should be pleasantly salty but not overwhelming), squeeze out excess water, then mix with all remaining ingredients while wearing gloves (gochugaru stains like nothing else). Pack tightly into clean glass jars, press down until brine covers the vegetables, and seal loosely.
The Fermentation Timeline — What to Expect Day by Day
This is where most guides get vague, and it’s genuinely helpful to know what’s normal versus alarming:
- Day 1: Kimchi will look and smell mostly like a spicy, garlicky vegetable — not much fermentation activity yet. Leave at room temperature (around 20°C).
- Day 2: You should see small bubbles when you press down on the kimchi. This is CO2 from active fermentation — a very good sign. The smell starts developing that distinctive tangy edge.
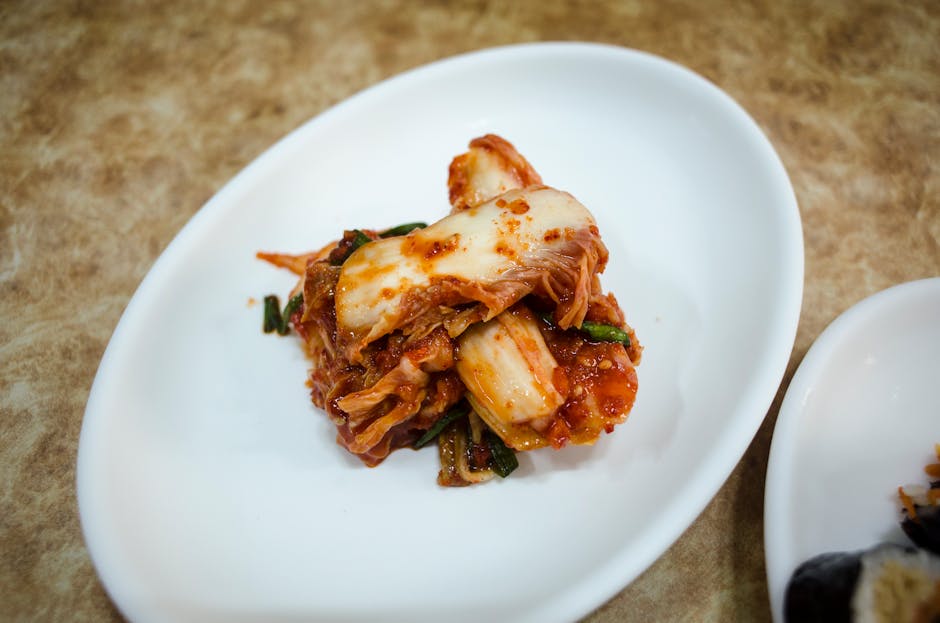
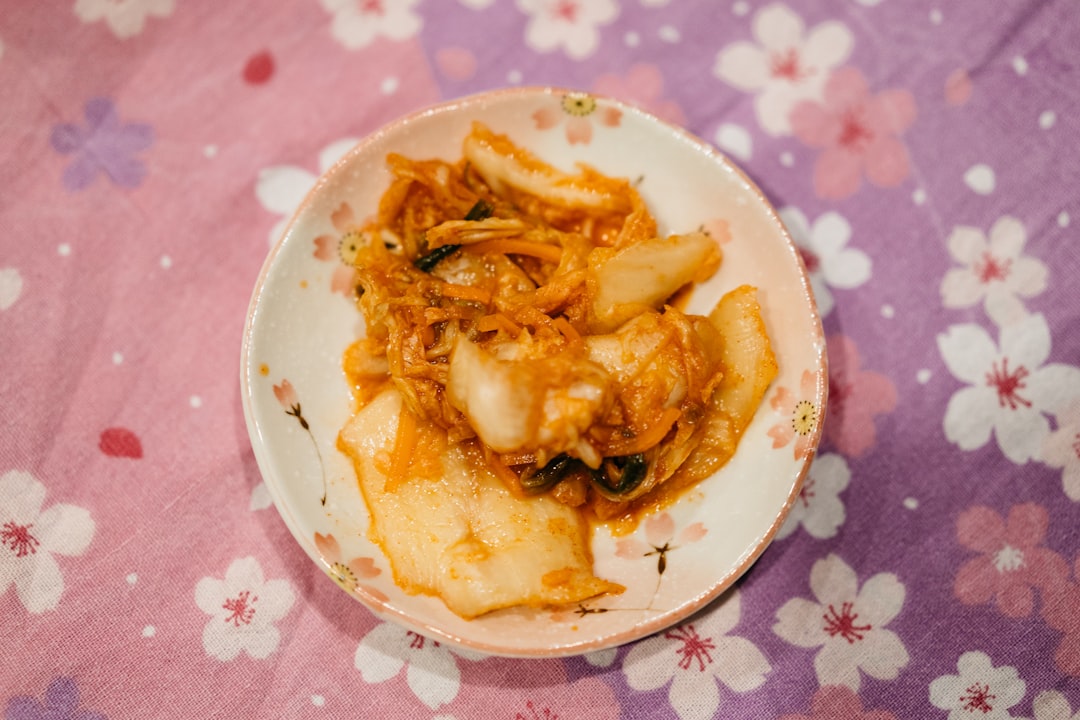
- Day 3–4: The kimchi is now what Koreans call geotjeori stage — freshly fermented, still crunchy, tangy but not deeply sour. Many people eat it at this stage. Transfer to the fridge now if you prefer this flavor profile.
- Week 2–4 (in the fridge): Fermentation slows dramatically but continues. The flavor deepens, sourness increases, and the kimchi becomes ideal for cooking — kimchi fried rice, kimchi jjigae (stew), or kimchi pancakes.
- Month 2+: This is mukeunji — aged kimchi. Very sour, intensely funky, beloved by many Koreans for its complexity. Use it in braised pork belly dishes or as a condiment.
Tools, Costs, and Where to Source Ingredients
One thing that genuinely surprised me when I started: you don’t need special equipment. Here’s the honest cost breakdown for a first batch in 2025:
- Wide-mouth glass jar (1L): $3–6 at most kitchen stores, or repurpose any large pickle jar
- Gochugaru (500g bag): $6–10 at Asian grocery stores or Amazon — this will last you many batches
- Korean sea salt (1kg): $4–7 at Asian markets. Brands like Wang or Haioreum are widely available in North America and Europe
- Total first-batch cost (excluding cabbage): roughly $15–25 USD if buying all pantry items fresh
In terms of sourcing: H Mart (US), T&T Supermarket (Canada), and Wing Yip (UK) carry everything you need. If you’re in a smaller city, ordering gochugaru and salted shrimp online is completely fine — they’re shelf-stable and ship well.
Adapting for Dietary Restrictions Without Ruining the Ferment
Vegan kimchi is absolutely viable and genuinely delicious. The fish sauce and salted shrimp add umami depth and a slight boost to fermentation (the amino acids feed the bacteria), but they’re not essential. The LAB on the cabbage will ferment regardless. Replace with 2 tablespoons of soy sauce plus 1 teaspoon of white miso for umami complexity. Some fermenters also add a tablespoon of nori (dried seaweed) blended with a little water.
Gluten-free is the default — traditional kimchi contains no wheat. Just double-check your fish sauce label if using it, as some brands add wheat.
Low-sodium adaptations are trickier. You genuinely cannot drop below that ~2% final salinity without risking fermentation failure. What you can do is reduce the initial salting salt (rinse more thoroughly) and omit additional fish sauce sodium — but going too lean here is exactly the scenario that causes off-flavors or safety concerns.
Is Homemade Kimchi Actually Worth It vs. Buying It?
Let’s be honest about this. A decent store-bought kimchi — brands like Chongga, Nasoya, or fresh-made kimchi from a Korean grocery deli counter — runs $6–12 for 400–500g in most US cities. Making your own 2kg batch costs roughly the same in ingredients once you have your pantry stocked.
The real value of homemade isn’t cost — it’s control. You choose the heat level, the freshness stage you prefer, whether it’s vegan, how salty it is. And there’s something genuinely satisfying about opening a jar you made yourself two weeks later. That said, if you’re making kimchi purely to save money, the math only works if you’re making large batches regularly (think 4kg+ at a time, Korean household scale).
Here’s my honest take for 2025: Start with a small batch — just 1 kg of cabbage — treat it as a learning experiment rather than a production run. The first batch will teach you more than any guide can about how your kitchen temperature, your water, and your personal taste preferences interact. Once you’ve nailed the basic process once, scaling up is straightforward and the whole thing takes less than an hour of active work. The “hard” reputation kimchi has is really just unfamiliarity — give it one genuine attempt, and you’ll wonder why you waited this long.
📚 관련된 다른 글도 읽어 보세요
- 가족 여행 예산 50% 줄인 실전 후기: 2026년 지금 당장 써먹는 절약법 7가지
- 믿었다가 뒤통수 맞는 수동변속기 — 2026년 기준 MT 차량 실사용 전 반드시 알아야 할 것들
- Family Travel on a Tight Budget: Real-World Savings Hacks That Actually Worked in 2026
태그: kimchi recipe, fermentation guide, Korean food, homemade kimchi, lacto-fermentation, kimchi for beginners, Korean cooking
Leave a Reply